Free Pattern: Jumbo Buffalo Plaid Christmas Stockings (Fat Quarter Friendly!)
10:22:00 AMWell, it's that time of the year again!
My kids have been hopped up on sugar and Santa-crazy for about a month now. It's like that line in that song,
"/and mom and dad can hardly wait for school to start again/".
I jest. I'm having fun with them home, but it's been an exhausting time!
I've been in a rush to try and complete a series of new stockings for the family; the last set I made was years ago (so long ago in fact that it was before my son was born - so he's been using a store-bought hand-me-down for, uh, a few years). Here's the tutorial for our 'old' stockings in {this post}.
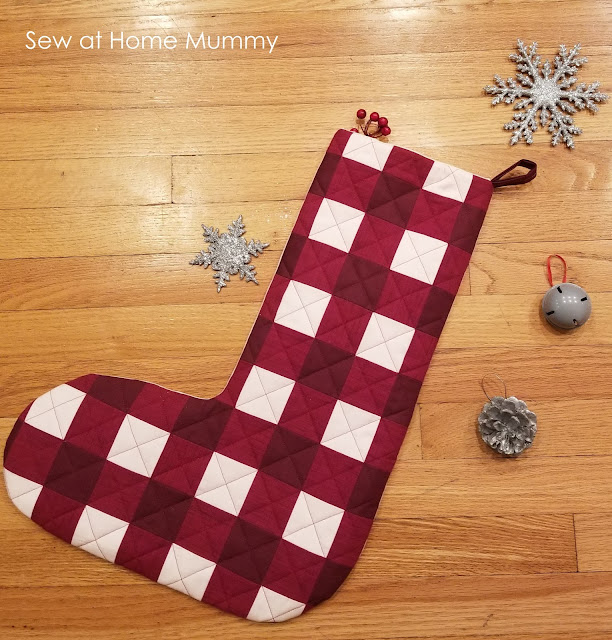
I had *so* much fun making these new oversized, Buffalo Plaid pattern stockings I thought I would write it up as a tutorial for the ol' blog!
Enjoy!
*this post may contain affiliate links to Amazon at no additional cost to you - the income earned helps me to pay for domain fees and supplies. For more information, please visit my Disclosure Statement and Advertising Policies page.
Please note and respect that all free patterns published on Sew at Home Mummy are for personal use only and may not be sold or used to create items to be sold. Thank you!
SUPPLIES:
- Jumbo Stocking Pattern (Click the button above to download and print the PDF version)
- COLOR 3: Moda Crossweave*, Studio E Brushstrokes*, or the like, or, medium dark solid
- COLOR 1 & 2: Moda* or Kona Solids, or the like, coordinating, 1 each fat quarter light and dark
- BACK & LINING: 3 Coordinating FQs (or the equivalent) (I used Bella Ivory*)
- Hobbs Cotton Blend Batting*
- That Purple Thang* (for turning, or a chopstick would work!)
- Coordinating thread for piecing and quilting (for piecing I used a cream Aurifil* and coordinating Aurifil 50wt* to quilt each stocking)
- Glue Basting Spray* or Curved pins for basting your mini plaid quilt top to the batting
CUTTING:
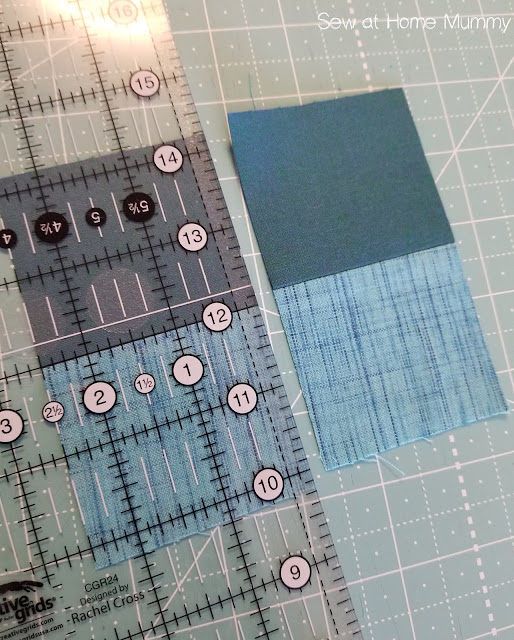
Color 1 (light FQ): (3) strips 2.5" x 22" Color 2 (dark FQ): (3) strips 2.5" x 22" Color 3 (medium FQ, 'textured'/crossweave fabric): (6) strips 2.5" x 22" Hanging Tab: from one of the colored fabrics (1) piece 2.5" x 6" Batting: (2) pieces 20" x 24" Stocking Back: (1) piece, cut from supplied pattern Stocking Lining: (2) pieces, cut from supplied pattern
Stocking Front:
Assume 1/4" seam unless otherwise specified
1) Sew a strip of Color 2 and Color 3 together lengthwise using a 1/4" seam; press seam open. Repeat twice, creating three strip sets. These sets will be referred to as SET A.
2) Sew a strip of Color 1 and Color 3 together lengthwise using a 1/4" seam; press seam open. Repeat twice, creating three strip sets. These sets will be referred to as SET B.
3) Cut each SET A and SET B strip set into 2.5" segments. You'll need 22 (2.5") segments of SET A's and 18 segments of SET B's.
4) Sew your segments together, and press seams open in the following manner to create strips, from top to bottom:
Row 1: 3 SET A's (6 squares)
Row 2: 3 SET B's (6 squares)
Row 3: 3 SET A's (6 squares)
Row 4: 3 SET B's (6 squares)
Row 5: 3 SET A's (6 squares)
Row 6: 3 SET B's (6 squares)
Row 7: 3 SET A's (6 squares)
Row 8: 4 SET B's (8 squares)
Row 9: 5 SET A's (10 squares)
Row 10: 5 SET B's (10 squares)
Row 11: 5 SET A's (10 squares)
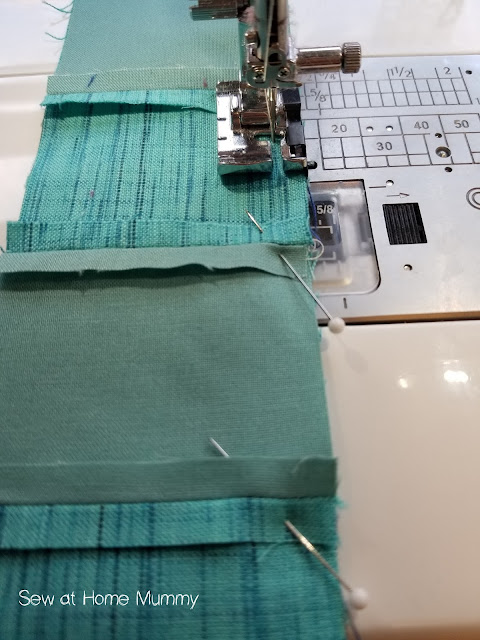
5) Matching intersecting seams, sew rows of strips together.
And here's what your sewn strip sets will look like (see the stocking shape starting to take form?):
6) Layer your 2 batting pieces on top of each other matching edges (safety pin the outer edges to keep them from shifting); baste your plaid piecing on top of the batting (I used June Tailor's glue basting spray* for this step, but you could also use curved pins*)
7) Quilt your stockings! Here are two quilting patterns which I used as examples -
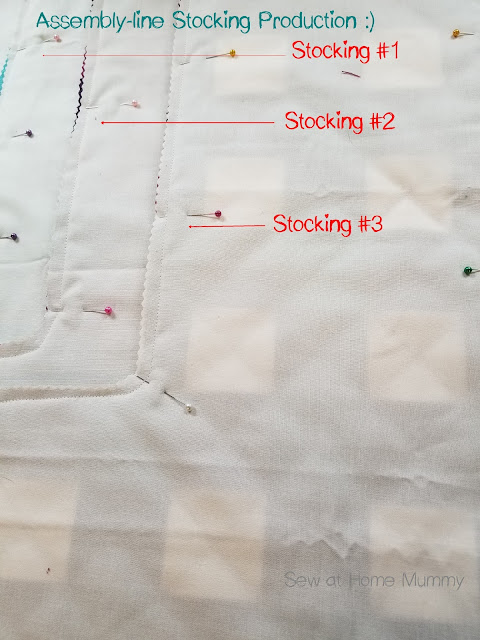
8) Using the pattern/template provided, trace your stocking shape onto the quilted squares; trim (you'll see here that I used an Olfa pinking blade (click here to see it on Amazon)* on my regular good old 45mm Olfa rotary cutter* to cut down on any fraying with the turning process) -
9) Pin backing to quilted front, right sides together and sew.
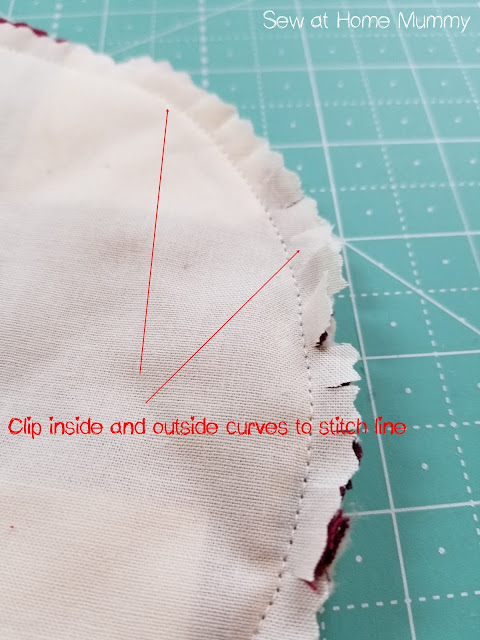
10) Clip corners and curves to get a nice clean curve when you turn, like so:
11) Turn right side out, using your That Purple Thang* or chopstick to poke out those curves. Press well.
Create Lining:
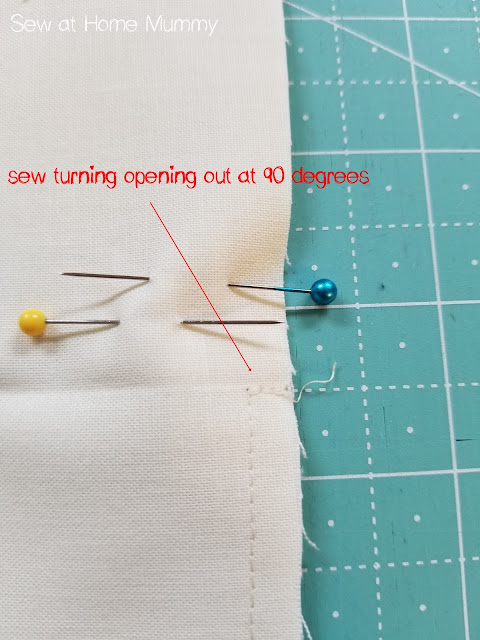
From lining fabric cut 2 of stocking pattern. Sew together, leaving about a 4" opening on the long side to be able to turn your stocking in a later step.TIP:
When sewing up to the opening, sew back to the edge of the fabric at a 90deg corner - this helps to make creating your closing seam allowance a little easier.
Create Hanging Tab
1) following the image guide below,- fold tab fabric in half lengthwise and press.
- open fabric and fold each left and right sides in to align with pressed center line and press in place.
- fold fabric again in half aligning pressed edges; press in place.
- sew down the length of the tab.
Finish Stocking:
1) Shove that stocking front inside the lining, right sides together.2) Matching side seams, pin upper raw edges together, placing your hanging tab, folded in half, between the lining and stocking front at the stocking rear seam matching raw edges. Sew using 1/4" seam.
3) Turn stocking through the opening you left in the lining.
4) Turn the open-seam portion of lining to create a seam allowance tucked to the wrong side of fabric; press. Pin the two open sides of lining together. Sew opening shut with a narrow 1/8" seam.
5) Push stocking lining into stocking front; press upper seam at stocking opening.
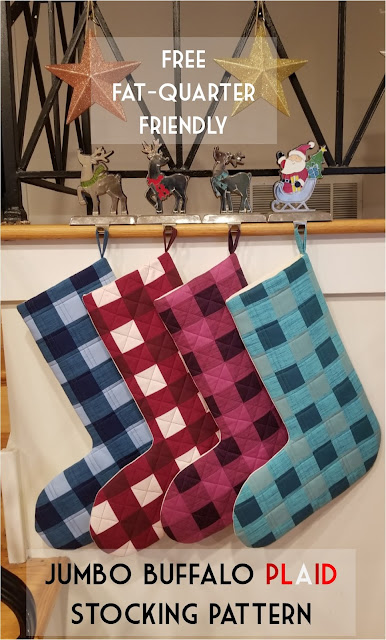
And here are all of my finished stockings!
...no chimney to hang them by but still hung and awaiting Santa's arrival nonetheless!
Thanks for reading along, I hope you enjoyed this tutorial. If you end up making one of these stockings, send me an email with a photo, I love to see what you're making.
Happy Holidays!






2 comments
Really cute stockings!!
ReplyDeleteGreat looking stockings. Hopefully the sugar high won't last too much longer ☺
ReplyDeleteI ♥ to hear from you!
Thank you for taking the time to leave a comment or for asking me a question. Rather email me? Reach out at sewathomemummy@gmail.com.
I like to email everyone back when they've commented - so if you're a no-reply blogger, make sure to leave your email address in your comment so I can share the love back atcha!