
My basement sewing area: in progress, part 1 (or: attempting to 'waterproof' a wet Chicago basement, take 1)
9:18:00 AMIn the last few weeks I have been working my tail off trying to get my wet, cold and disorganized basement sewing space dry, warm and at the very least at a level of organized chaos.
 |
| I'm embarrassed to show you all this...but it's progressing, right?? |
 |
| My corner of the basement - up against the basement wall to the front of the house. That concrete wall was pretty cold to sew against last winter... |
Then last year the rains came - and came, and came, and came - and we had water - cracks in the foundation and water pouring in up over the sill plate (that's where the foundation wall meets the framing of the house). The wood paneling on the bottom part of the wall (the knee wall or masonry wall) had to come off so that we could properly investigate where the water was coming from -
 |
| you can see here the staining from water coming over and down the foundation wall over the years. |
We spent most of last year doing what we could on the outside of the house (regrading, re-landscaping, digging swells (shallow ditches to catch runoff), digging 4 ft holes down to the footing up against the foundation wall to seal cracks, extended and moved downspouts, installed rain barrels, you name it. We did it.
 |
| Hubby removing stumps and roots as part of our regrading process. |
 |
| The kids help me to finish off a water-redirecting swell which runs down our front walk and to the road (we like to share - why not give our runoff to the storm sewers instead of my basement?) |
Now it was time to start working on the inside of the basement - to start overhauling and fixing all of the damage that years of water and neglect from previous owners had created. First the masonry knee walls were removed, and we then sealed the sill plate as best we could with water resistant spray foam and cement/masonry caulking. Not as ideal as a sill plate gasket, but that wasn't possible, so work with what you have, right?
We used this* and this
 * spray foam, and this
 * caulking. Cracks were caulked as well as the gap/seam where the foundation wall meets the floor/footing.
It should be noted that I spent a year with the cement walls exposed like this before we could afford to get around to insulating, sealing and finishing the wall. It was a matter of money but also I wanted to leave the wall open for several months, over the rainy seasons, so that we could verify that we had dealt with all of the entry points sufficiently and minimize the chance of having an issue again in the future.
We filled all of the cracks in the foundation wall from the outside with an aggregate compound used in waterproofing wells and cisterns - it expands when it comes into contact with water and pushes its way into the crack from the outside, sealing it in the process.
Then we got to work sealing the cement wall in an attempt to limit the potential amount of seepage and effervescence we might have in the future. It's not ideal, as this type of sealant is better placed on the exterior of the wall during construction, but, we're working with what we've got. I'll write a bit of a how-to and semi-review on this stuff soon - but we used Ames Blue Max Rubber Liquid*
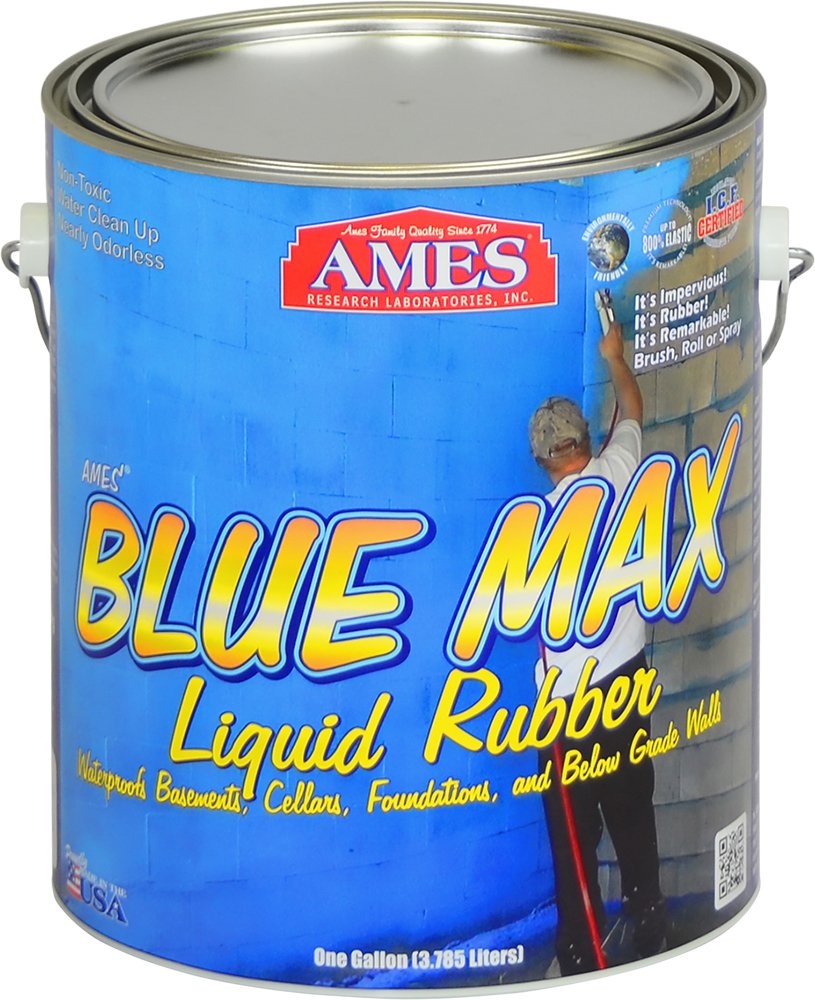 |
| Ames Blue Max Liquid Rubber basement wall sealer, on Amazon* |
 Basement refinishing ideas, basement renovation.") |
| 2 coats of Ames Blue Max * on the wall, the 2nd coat in the process of drying. |
Once we had a few coats of the blue paint on and it was dry, we were on to insulation. I wanted to go with an insulation that was not going to mold if it got wet (that eliminated fibreglass) and would give us the highest R value possible. I looked into foam board insulation (EPS) but I didn't really love that:
- it was going to be tough to get home;
- the thickness we could realistically fit behind the existing framing was only going to give us an R value of 1-2;
- it off-gases like crazy;
- it's super flammable
- it had to be glued to the concrete wall - which meant it would be difficult to remove if I ever had to get back at the wall if the wall wasn't completely sealed.
My research cap went on, and I managed to find this product that is -
product that is - 
- available on Amazon (uh, yes please - ship it to my door - I have kids...)
- when applied in a double layer (one behind framing, one in front, with appropriate air gap) gave us an R-6.2 value
- doesn't off-gas;
- is fire retardant;
- is SUPER easy to install (staple install behind studs ensuring proper air gap, staple and furring strips attachment in front of studs);
- is foil and plastic and therefore will never rot if comes into contact with water;
- is easily removed in case I ever have to pull the wall apart to investigate leaks in the future.
We installed 2 layers of the insulation (one behind the studs/framing [staple installation], one in front of the framing [furring strip installation]) in an hour. It was super easy.
 Basement refinishing ideas, basement renovation.") |
| Easy and safe to install, and gave us a higher R-value than foam board insulation would have! A water resistant, greener alternative to EPS. Reflectix insulation. |
We are currently working on the adjacent wall, and have since put cement board (it's waterproof, drywall isn't!) and new 'brick' wood paneling on my sewing wall - but more on that to come.
I'd like to say that I'm having fun with this project, but really, I'm not. I'm excited that I see an end in site and that I will finally be a lot less drafty and cold this winter than I have been since I started quilting (my last basement sewing area was just as cold, if not colder...).
If the basement stays dry after all of our hard work, this will all have been totally worth it. In the meantime, I'm too 'in' the project to see the end game - so ask me in a year what I think about it all, hahaha!
More soon -
-E
*this post contains affiliate links to Amazon at no additional cost to you. For more information, please visit my Disclosure Statement and Advertising Policies page.


4 comments
Wow a lot of work and perseverance. I hope it works and achieves what you need in the end.
ReplyDeleteDo you have a french drain?
ReplyDeleteHow awful thank goodness you were able to do it yourselves. Love your button rug by the way.
ReplyDeleteI found your post very interesting. In the midwest, we love our basements but moisture and water seepage is a big problem. Years ago we had lots of the same problems and ended up having a interior drainage system put in all around the perimeter of the basement. When water comes in, it is funneled into a tiling under the floor, over to a sump pump well, and then expelled outside. It was expensive but well worth it. I hope you find that all you've done will make sewing a warm and dry experience.
ReplyDeleteI ♥ to hear from you!
Thank you for taking the time to leave a comment or for asking me a question. Rather email me? Reach out at sewathomemummy@gmail.com.
I like to email everyone back when they've commented - so if you're a no-reply blogger, make sure to leave your email address in your comment so I can share the love back atcha!