My basement sewing area: in progress, part 3 (or: attempting to 'waterproof' a wet Chicago basement)
9:20:00 PMIf you've missed the first few posts in this 'fun' journey - click {here} for the back story...it's a doozy.
Boy oh boy. Am I tired.
It doesn't look like I've done all that much, but, in reality, I have. I swear.
I had a bit of a setback over the weekend with a sick 4 year old needing some constant loves and snuggles, but Monday I was back on track.
My mom is visiting from Canada and we have been going at the space like gangbusters - the rest of the brick paneling went up, caulked/filled, painted (color: SW 7030, Anew Grey, in a Behr Marquee eggshell finish - left over paint from my kitchen cabinet project) and I used some paint that I 'acquired' (long story) on the upper paneled walls in kind of a sage green (not in LOVE love with it, but hey, the paint was free...):
 |
| the sage is growing on me. I thought it might be too dark for this already dark space, but, in reality, it has actually brightened it up in there - crazy. |
the horrible, broken black blinds came down, and then I got the ledge trim up, caulked and painted (I actually used a 3" baseboard for this, but installed it upside down):
 |
| new paint on the windows, the ledge, and new trim on the knee wall ledge. I'm getting pretty good at using a nail gun. |
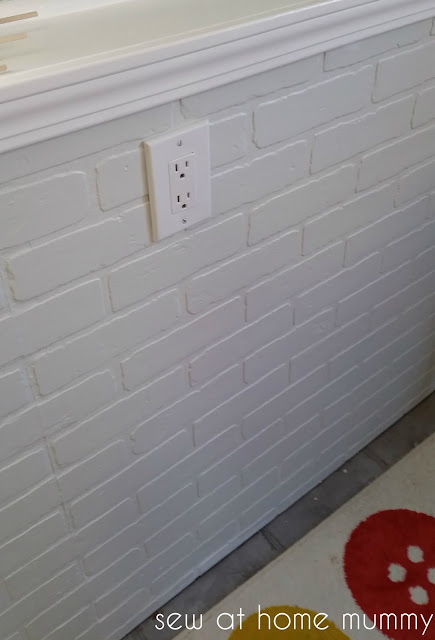
and swapped out all of the old black outlets for new, tamper-resistant ones (I used these ones* and this one* - and even switched out my main plug for my machines, etc., with one of those USB/power outlet combo plugs) and I went with midway and over-sized plate covers since I was going for that chunky, industrial look (I used this one* and these ones*):
 |
| all new tamper-resistant outlets are in! this was the quickest part of the project for me. 30 minutes and 5 outlets all replaced. |
 |
| can't wait to have less plug-clutter with this new outlet! great close up of the brick detail |
...and while painting all of this other trim white, I was working on the windows (they're old and wood and not in the best of shape - but repainted, nonetheless. It took me a full day just to paint them.Window painting = tedious...) My mom and I also stripped all of the original brass window hardware on Friday night (here's how I did it - it's super easy!) of literally 5 layers of paint: black, white, cream, green, blue (and on some of them, pink!):
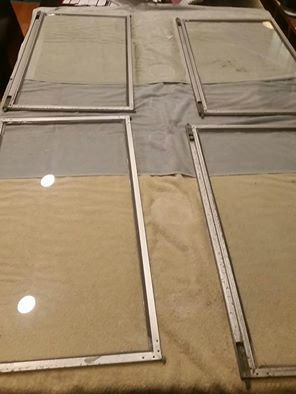
2 weeks ago I repaired the storms on all 5 of these windows in prep for winter -
I have a few more little weatherproofing things to do to the windows but already the drafts are significantly less with the storms re-glazed. The windows themselves need re-glazed but already it's too cold out for me to be:
a) using my fingers, sans gloves, to try and get perfect glaze lines, and
b) the glaze wouldn't set, it's too cold
...good enough for me, tee hee.
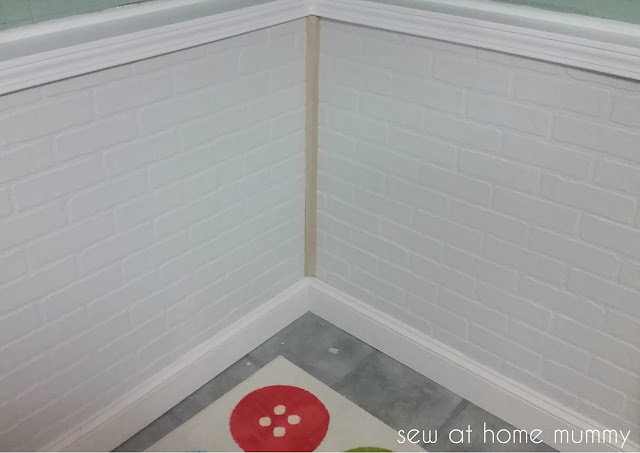
Last night right before dinner my hubby and I finished putting up the baseboards in the room (I needed his help here - the boards were too long to manhandle myself and I wanted to be quick, it was only 20F outside...), and I got them caulked and filled ready for paint:
...and after the kids went to bed I worked until 1030pm on the Roman shades that will go on all of the windows in the room (last year I bought up all of the Lotta Jansdotter Glimma canvas I could find in prep for this project!) -
 |
| Glimma, Lotta Jansdotter - making a ton of lined Roman shades! |
Or maybe I'll sleep. (Probably not - who am I kidding...)
To be continued.


2 comments
Looking good. Can't wait to see the shades up.
ReplyDeleteMy God woman, is there no end to what you can do? I'm impressed and the hubby should be thankful he has such a handy and talented wife. Hope you aren't doing all the cooking for Thanksgiving as well. Have a wonderful Thanksgiving with your family, and will look forward to the unveiling of the finished product.
ReplyDeleteI ♥ to hear from you!
Thank you for taking the time to leave a comment or for asking me a question. Rather email me? Reach out at sewathomemummy@gmail.com.
I like to email everyone back when they've commented - so if you're a no-reply blogger, make sure to leave your email address in your comment so I can share the love back atcha!